
I have been asked by one of our readers about what it is life to actually live in our Roadtrek day to day. This is a great idea and this is the start of a series of articles about just that. These articles will be mixed in with other articles week to week. One request was how do we make the bed.
Meryl makes the bed in our Roadtrek and would rather that I do not help, as when I tried to I just got in the way. Lesson quickly understood and learned. Now, I stay in the front lounge seat and keep out of the way as much as possible as Meryl makes up the bed. Meryl wants me to make it clear that her method only works in a Roadtrek 190 Popular without the power bench seat/bed. Our Roadtrek has the optional

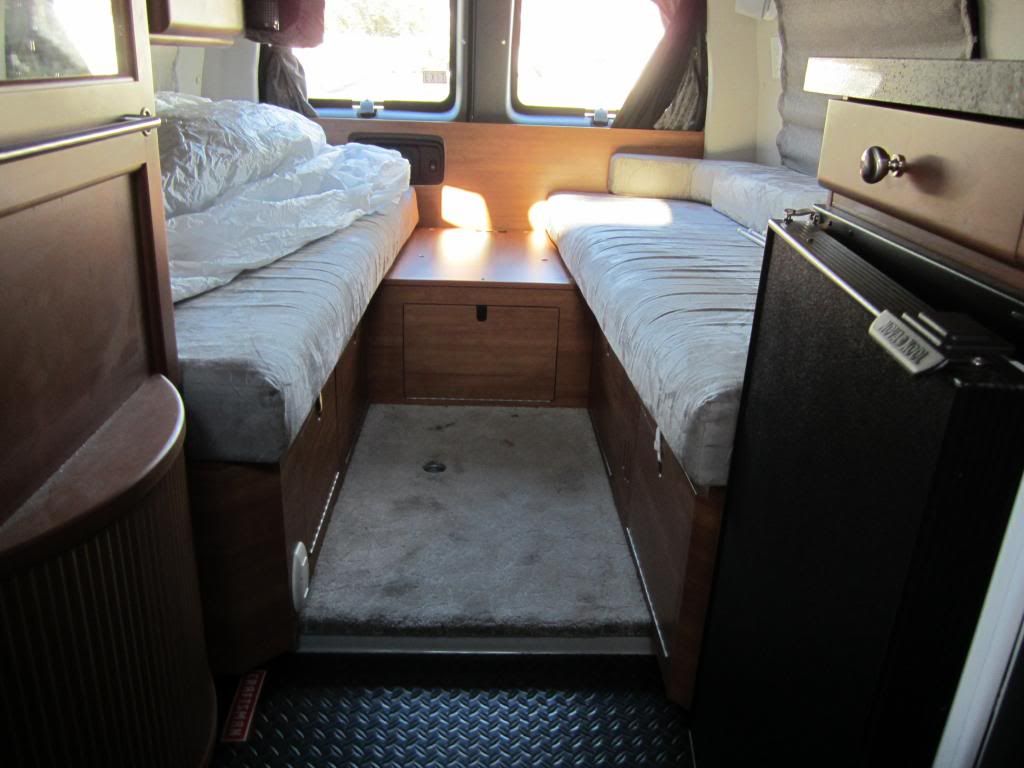
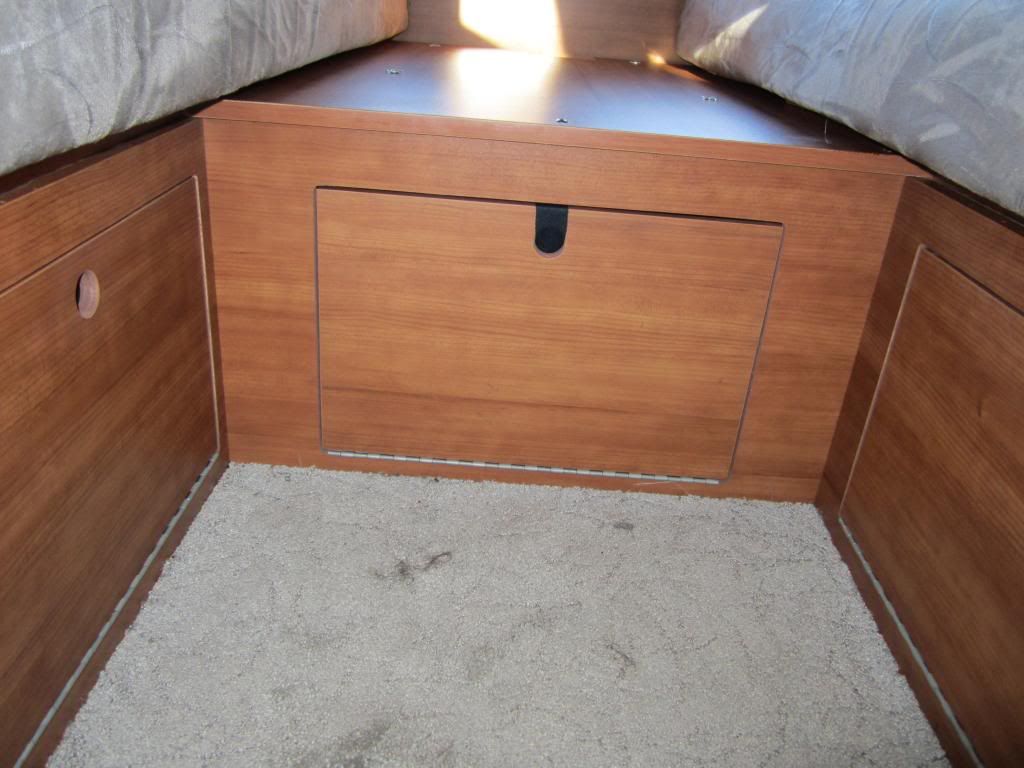
twin bed configuration which consists of a wooden platform along each side in the back connected in the middle at the back in front of the rear van doors with another platform. It is also important to know that Roadtrek changed the shapes and sizes of the cushions that make up the bed in the 2011 model. When one looks in the manuals - right through 2010 the cushions for the non-power bench bed are completely different. In fact, Roadtrek does not have a manual for the 2011 190 Popular and we don't have an "official" diagram showing how the cushions are to be arranged to put the bed together. We were shown at the dealership and later this arrangement was confirmed to me by email from Roadtrek.
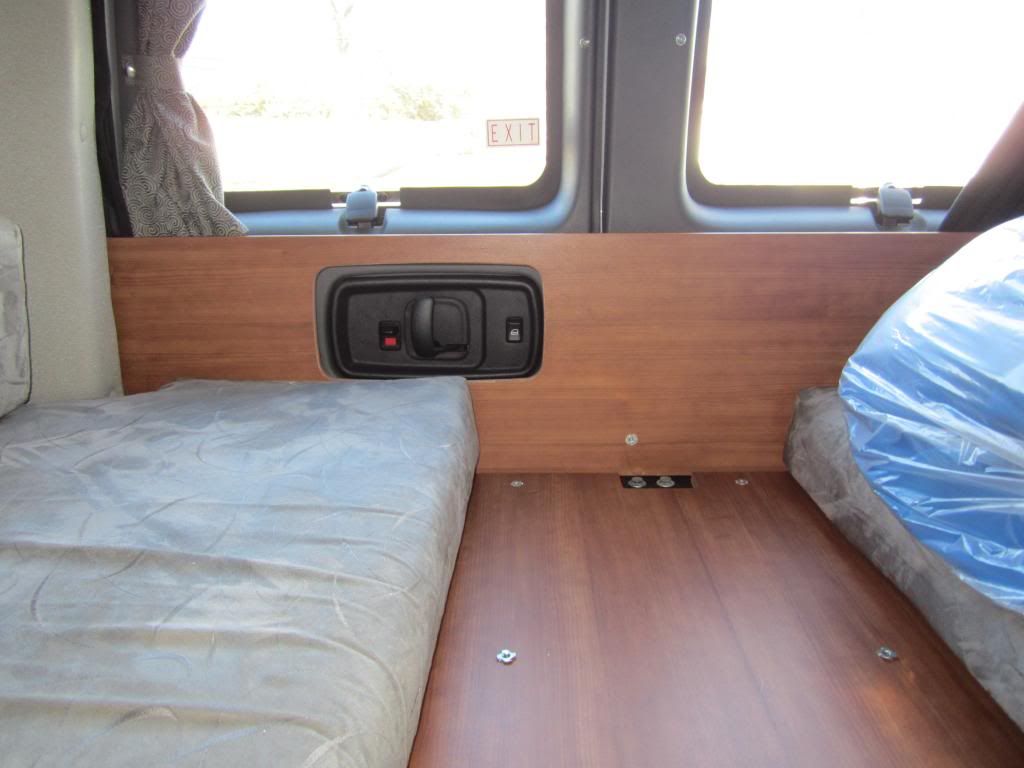
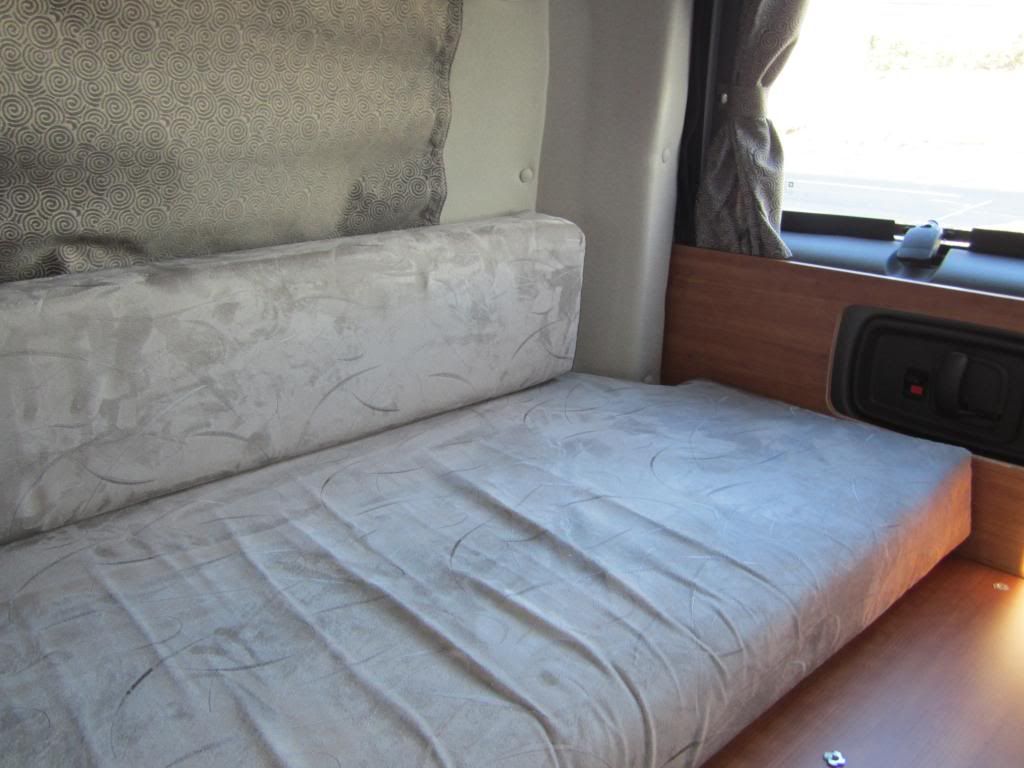
First, when the Roadtrek is not set for sleeping, the cushions are positioned so that the long wide cushion serves as a seat on the side platform - both sides the same, though one is shorter in length than the other side. On that cushion as a backrest sits the long, thin cushion which is weighted on the back with a wooden board. There is also a little z shaped cushion that fits in the back corner as a arm rest - one on each side of the van. There is also a square cushion that fills in the middle across the rear platform in front of the van doors.
This cushion is not used for the bed and must be removed before you make the bed. We removed this cushion permanently and store it in our home, as it was always in the way inside the Roadtrek - it is only used if you use the back platform as a seat while driving and this is extremely uncomfortable to do and dangerous as there is no headrest and if in an accident one's head would go into the rear van window. The back platform has a wooden board that runs the width of the van - which is the backrest to the rear "seat" and serves as a headboard. Below that cushion there are two seat belts bolted through

the wooden platform into a steel frame underneath. Under the side cushions on the platforms are two wood boards that will fill in the space between the two side platforms to support the middle of the bed.
You can sleep in the 190 Popular bed in one of two directions - across the van or back to front. This method putting the sheets on only works for sleeping back to front.
You get in and out of the bed from the foot. The sheets have been set so that you get in and out from the center. This way you are not crawling over anyone to get out or in.
Here is Meryl's method step by step to make the bed into a KING. You need two mattress covers with elastic corner anchors, four flat twin sheets, and two twin blankets.
1. Start with either of the two sides.
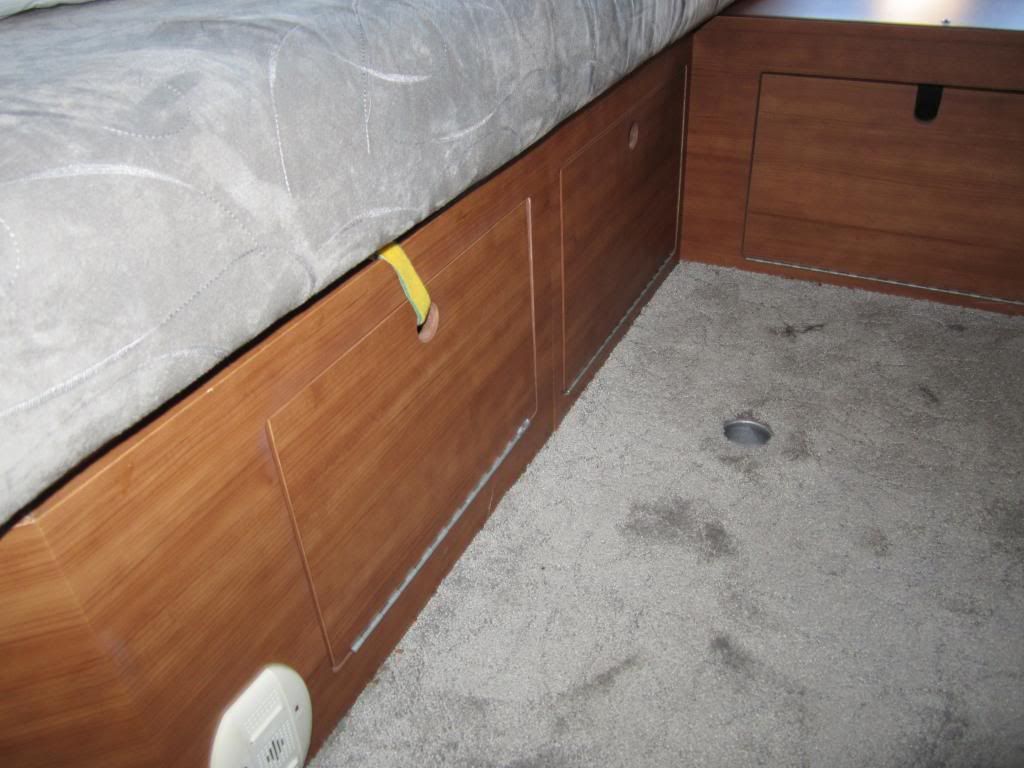
Remove the two wooden boards under the cushions and put both aside in the aisle so that they are out of the way. You will use these later in the process.
2. Pull the wide cushion out to the middle open aisle so that you can push the long, thin cushion between the bed cushion and the wall with the wood side down.
3. Place the Z cushion into the back side corner so that it fills in the open space in the back corner. Think of this as a jig saw puzzle that you are going to sleep on.
4. Take a mattress cover - we purchased two at Ikea for twin beds and picked this one because it is only a top with elastic corner anchors rather than the more common fitted mattress covers that surround the mattress top and all sides.
a. Start at the end of the bed nearest the kitchen or bathroom and lift the thin cushion and clip one corner of the mattress cover around the end of the cushion's corner.
b. Next clip the other anchor at that side on the corner of the wide cushion sticking into the aisle.
c. Next put the anchor elastic at the top corner of the top of the wide cushion sticking in the aisle.
d. Next you are going to take the remaining corner of the mattress cover and SHOVE it in to the corner at the top of the bed over the Z cushion. Any extra mattress cover in length can be tucked in at the top (facing the rear doors). (If you tuck the excess at the foot of the bed it will keep the bathroom door or the refrigerator door from closing.) Now the mattress cover is on one side of the bed.
5. Bottom Sheet -
a. Take a flat twin sheet, open it and start again at the same corner where you started the mattress cover - the corner at the foot on the wall side, and tuck it in around the corner.
b. Work your way across the foot of the bed tucking the sheet between the cushion and the cabinet.The side of the sheet is going to hang loose into the aisle at the side of the cushion.
c. Work your way along the side wall tucking up to the top.
d. Tuck in the top of the sheet between the headboard and the cushion. SHOVE any excess up here - and be careful not to hit your head on the ceiling as it is lower back here.
e. Where the Z cushion is at the corner - again shove the sheet in around the cushion.
f. Go to the rear of the aisle and tuck the aisle side of the sheet under the cushion where it sits on the rear platform. The remainder of the side will be tucked in later.
6. Top Sheet
a. Repeat 5a. to 5 c. with the top sheet, except when tucking in along the wall stop where you want to be able to fold back the top sheet when in bed.
b. Smooth the top sheet down over the rest of the bed, as made so far.
7. Blanket
a. Repeat same as top sheet.
b. Take the top sheet and the blanket along the aisle that is hanging down toward the floor and fold it up onto the top of the cushion so that it is out of the way of the aisle. Just leave the bottom sheet hanging at this point.
AT THIS POINT YOU HAVE ONLY MADE ONE SIDE OF THE BED, BELIEVE IT OR NOT. (Now you see why I stay out of the way!) NOW IT GETS COMPLICATED.8. Take the remaining wide cushion and put it on the finished bed in the same configuration as it was when it was in position as a seat.
9. Put the side thin cushion (wood side down) and the Z cushion against the side wall on the remaining platform into position.
10. Take the mattress cover, hook it again on the bottom corner in the aisle as in 4a. Lay it over the thin cushion at the wall toward the rear of the van and then tuck the other end into the corner over the Z cushion as in 4d. Smooth it out over the wooden platform - you have not put the remaining bed cushion into place yet.
11. Bottom Sheet
a. Lie the bottom sheet against the side wall, over the thin cushion. Tuck it in at the foot of the thin cushion and along the side wall and over the Z cushion at the top. Smooth it out onto the platform OVER the mattress pad. (Again, no wide cushion is in place yet on this side.)
12. Repeat 11a. with top sheet and blanket and stop where you want to be able to fold back the top sheet when in bed.
13. Lift up the mattress pad, the sheets, and the blanket on this side of the bed that you are making now, and place it ALL on top of the thin cushion along the wall. Fold as necessary to keep it out of your way.
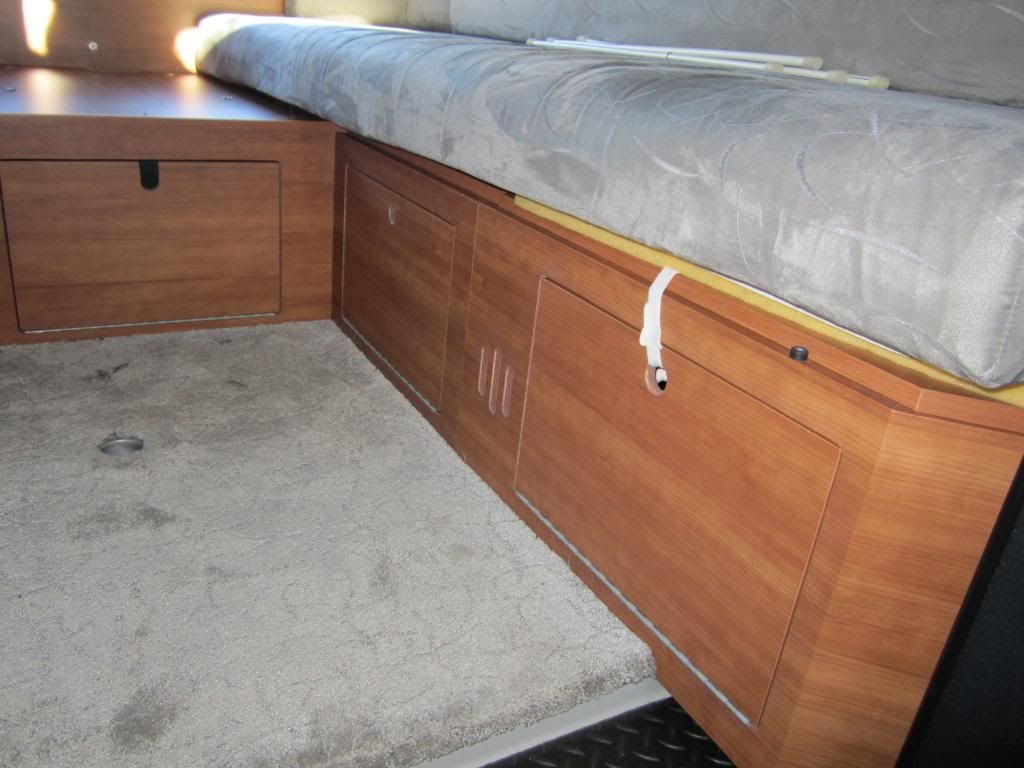
14. Take the wood boards that were stored on the platforms and fit one across the aisle from cabinet top to cabinet top. It sits on a little ledge built into the cabinets in the bottom of the platforms. Push it to the rear to meet the back platform. It will go under the sheet that is hanging off the bed side that you have already completed. Tuck the bottom sheet of the finished side under cushion now sitting on this board.
15. Take the other board that you removed when you started and put that into place in front of this last board. You have now closed up the gap in the aisle between the two platforms. Again, tuck the bottom sheet from the finished side under the cushion. The two boards have created the middle platform supporting the bed. Some Roadtreks may only come with one board - in that case the rear table takes the place of the second board in the set up of the king bed.
16. Pick up the wide cushion that is sitting on top of the finished side and fit it into position between the finished side and the thin side cushion. This take a LOT OF SHOVING AND SMASHING to get it into place. It will be VERY TIGHT. It is necessary to lie down on it to fit the top into place. It helps to lie down on it while you are fitting it in along the side.
17. Lift the mattress pad that was on the thin cushion and spread it out now over the remainder of the bed. You need to roll back and forth between the beds to get this into place. Tuck the anchors under the back and front corners at the middle of the bed. Readjust the mattress pad as necessary.
18. Spread out the bottom sheet and tuck it around the large cushion edges.
19. Spread out the top sheet and over that the blanket. Tuck them in at the bottom only.
20. The longer cushion side of the bed - the bottom sheet is going to be hanging off the middle corner as the wood board is not long enough by design to reach the foot of that cushion. Sit on the floor in front of it in the aisle with a safety pin ready and tighten up the sheet by pulling it under the mattress and pinning it to itself around that corner.
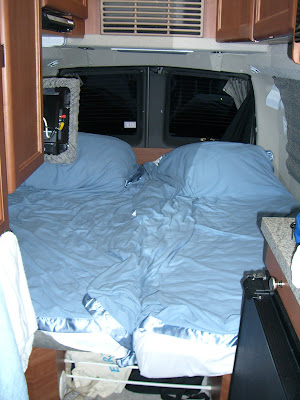
THE BED IS MADE. Note that the top sheet and blanket have not been tucked in on the center of the bed between the two large cushions so that you have access in and out of the bed in the middle. You have actually made two separate beds side by side. Pull up the sheets where the two sides meet to get cozy and close.
Set your pillows in place at the top of the bed and you are ready to go to sleep.
Now, this is a long and complicated process but by trail and

error Meryl figured this puzzle out. It takes about twenty minutes to a half hour to make the bed. We make the bed once and leave it made up for the entire trip. If you want to have use of the back of the Roadtrek and sit or use the rear table on your trip then you must make the bed up every night. Lots of luck.
You could also forget the thin cushions and use only the wide cushions set in the middle. This makes it a little easier to make but you have a smaller bed. The Roadtrek bed is 6 feet long by 6 feet wide.
The 190 Popular can also make up as twin beds. Leave the aisle open and make up the wide cushions with sheets on top of the platforms leaving the aisle open to get in and out like a regular bed. This is not a standard size twin and is a bit narrow. There is no room to move your feet toward the middle to clear the cabinet ends as you can with the King set up. This is a problem for some on the short side.
Again, if your Roadtrek has the power bench/bed in the back, making the bed is completely different and when using sheets on that bed, much more complicated. The cushions are not like mine at all. Any year before 2011, none of the cushions will be like mine either.
Some do not use sheets at all. You still need to put the cushions in place just as described, but instead of sheets some use a sleeping bag or something called a "sleep sack" which is basically a sleeping bag made up of sheets and a comforter attached on top. It is made in such a way as to keep you cool in the summer or warm in the winter depending upon which side of it you sleep on. This is the recommended way to sleep with the power bench/bed.
So there you have it. Meryl says that she will answer questions - just leave your question in the comment section and she will do her best to give you an answer in a follow up comment. Don't ask for photos of the steps in making the bed - there is no room to do this task and get into any position to take photos - there is just not enough room.
All of this just to go to sleep - but after all, that is what you have the Roadtrek for, sleeping at the end of a fun day of sightseeing or camping!
There will be more Living in the Roadtrek articles to come - heating and cooling, cooking, using the bathroom, and more.

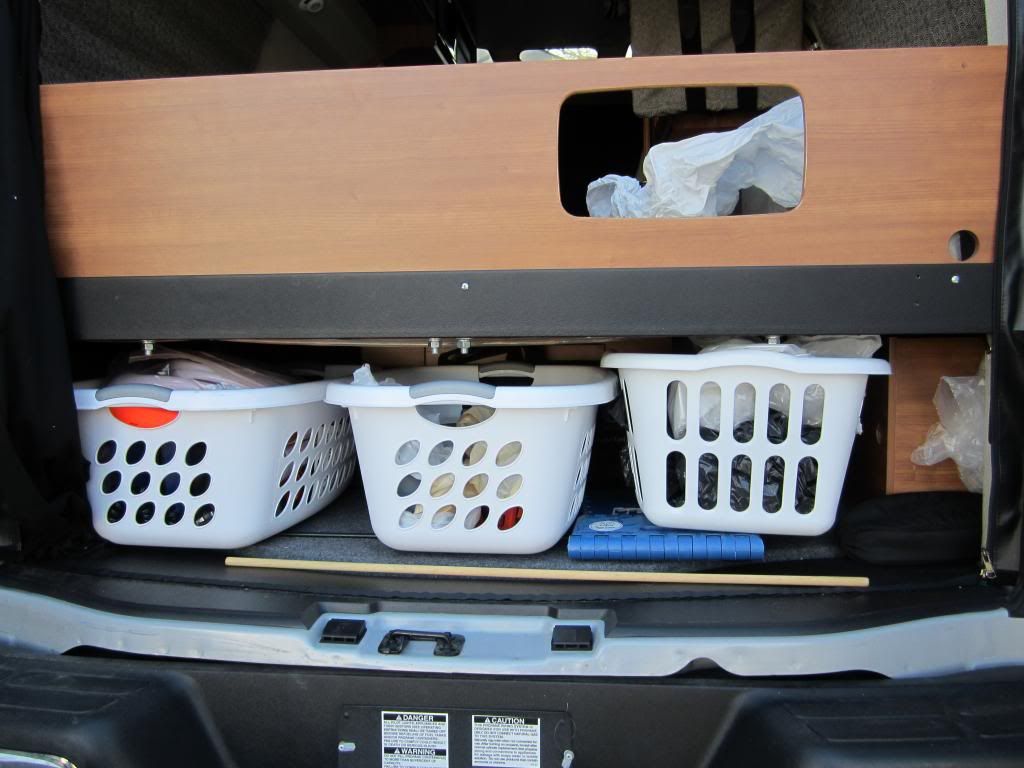
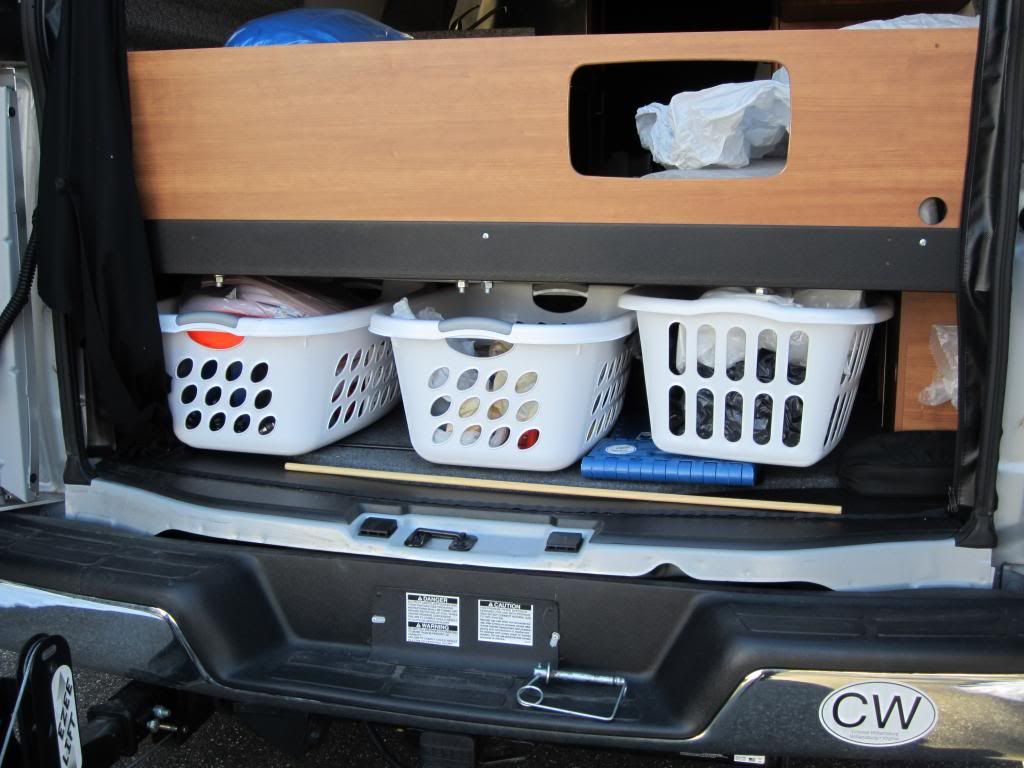
Diagram of cushions in place for sleeping.


