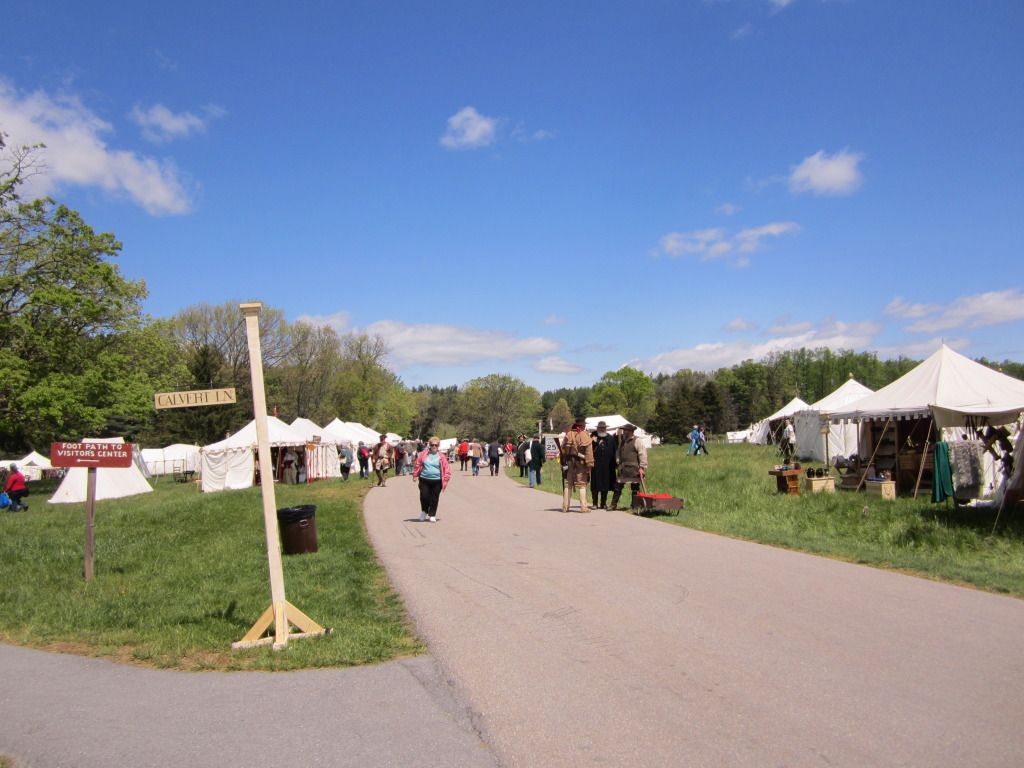
 The purpose of our trip to Maryland was to attend an 18th Century Market Fair. This is an event where vendors of clothing, supplies, accessories, flintlock guns, and more gather in tents to sell to living history reenactors and anyone interested in colonial history. The Market Fair takes place annually on the last weekend in April from Thursday through Sunday and it takes place at Fort Frederick - a Maryland state park that features an original, though restored, military stone fort built in 1756 to protect the area from Indians (sorry, Native Americans) and the fort played an important role in the French and Indian War, was a prison for British soldiers during the Revolutionary War, and was an outpost for Union troops to guard the C & O canal. The fort has seen a lot of history and the fort stands today as it was during the French and Indian War complete, restored, and furnished.
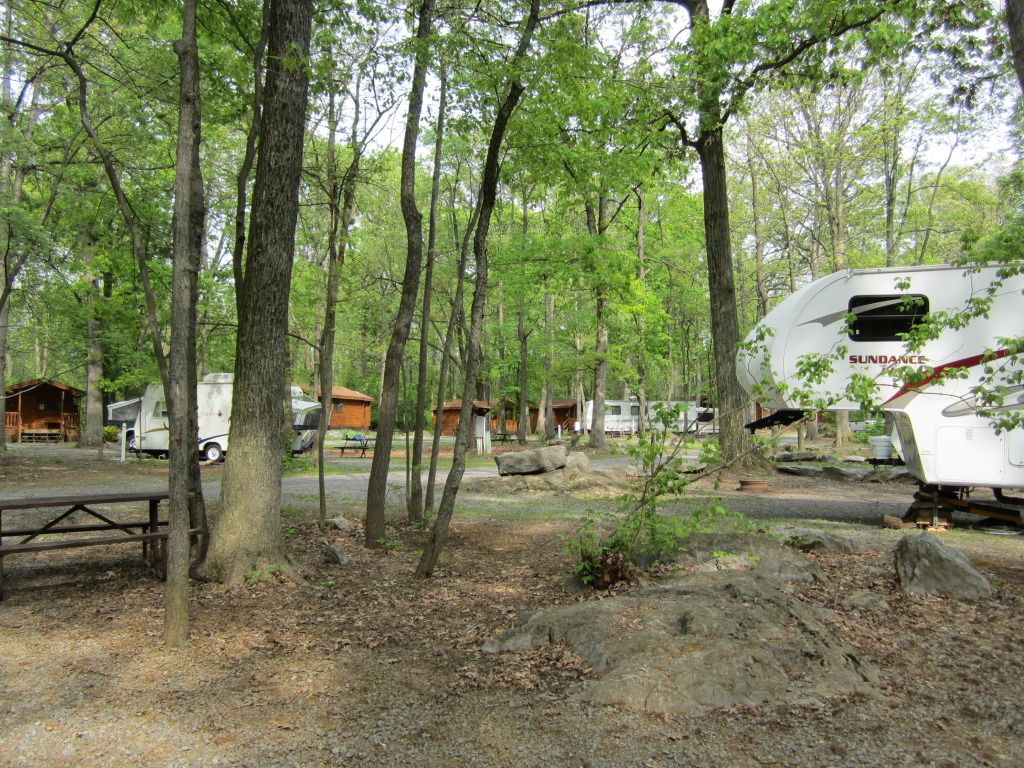
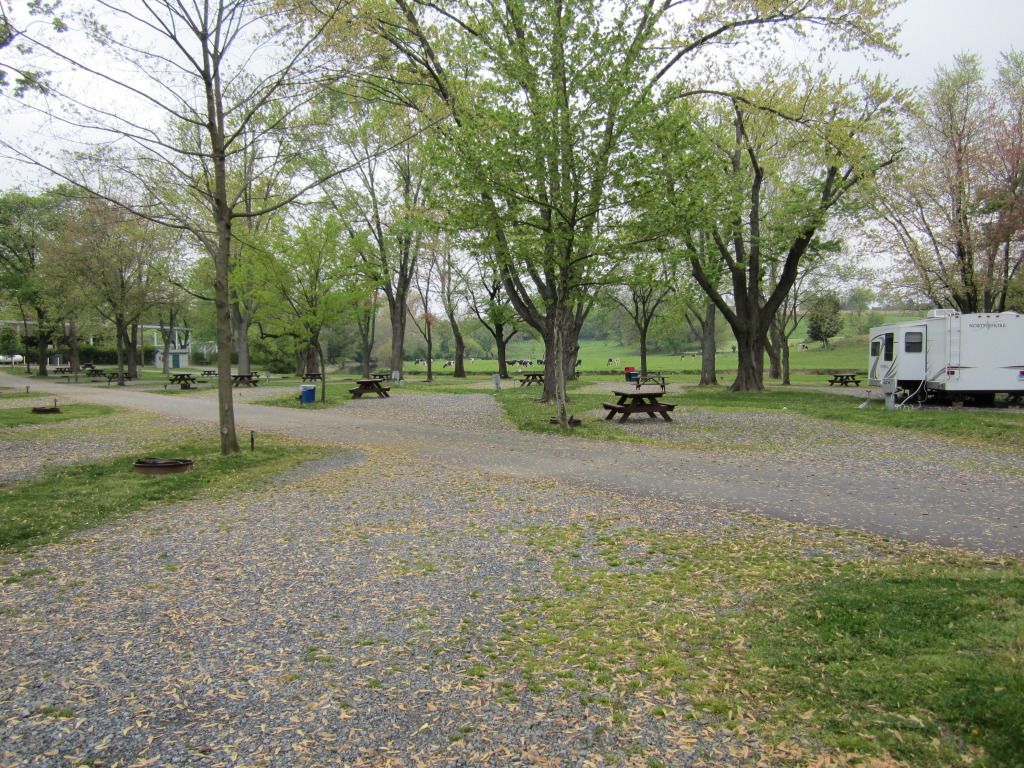
The Market Fair juries the participants who are selling and also camping in period correct 18th Century camps. Only the top vendors are permitted to sell and they must prove documentation for the items that they are selling showing that they are period correct to the time period that this market represents. As a result this market fair draws vendors and visitors from all over the United States. It is considered one of the largest such market fairs in the United States. Fort Frederick is located in Big Pool, Maryland which is northeast of Hagerstown, where we stayed at the campground. It would have been possible as reenactors to camp on the site in period tents or in our Roadtrek but while the park does have RV camp sites during season, there are no hook ups, no dump station, and only water available. Other visitors would not be permitted to camp on site during the Market Fair, but if you come during the summer months when there is not an event taking place at Fort Frederick you can RV or tent camp there (again, no hookups).
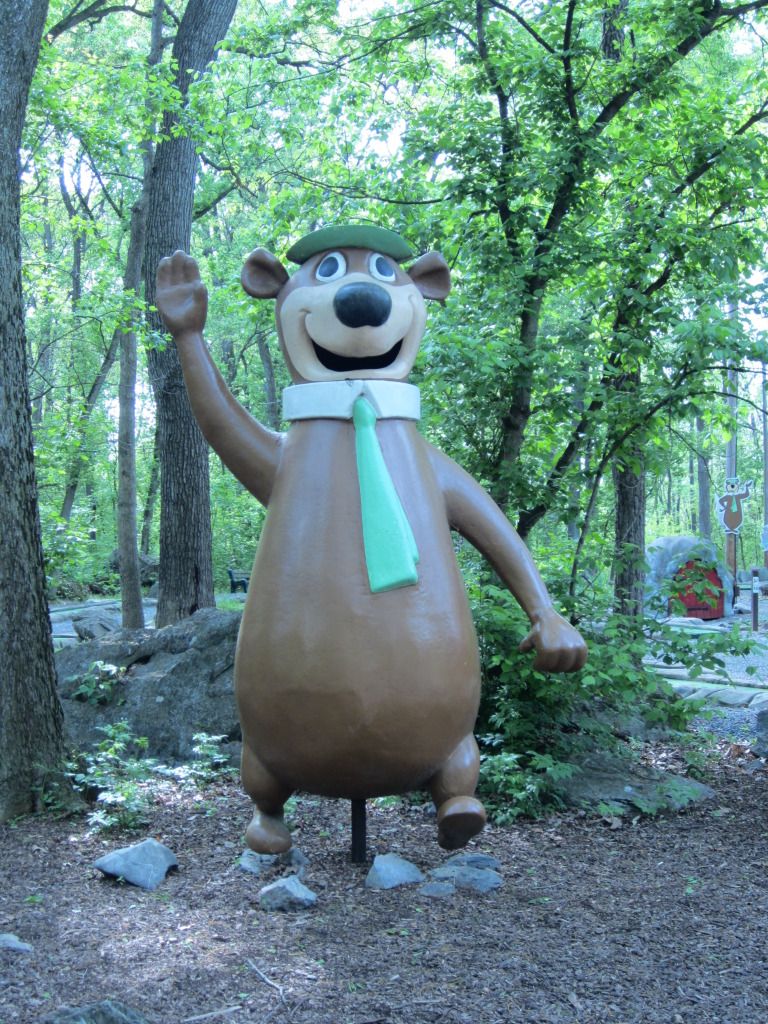
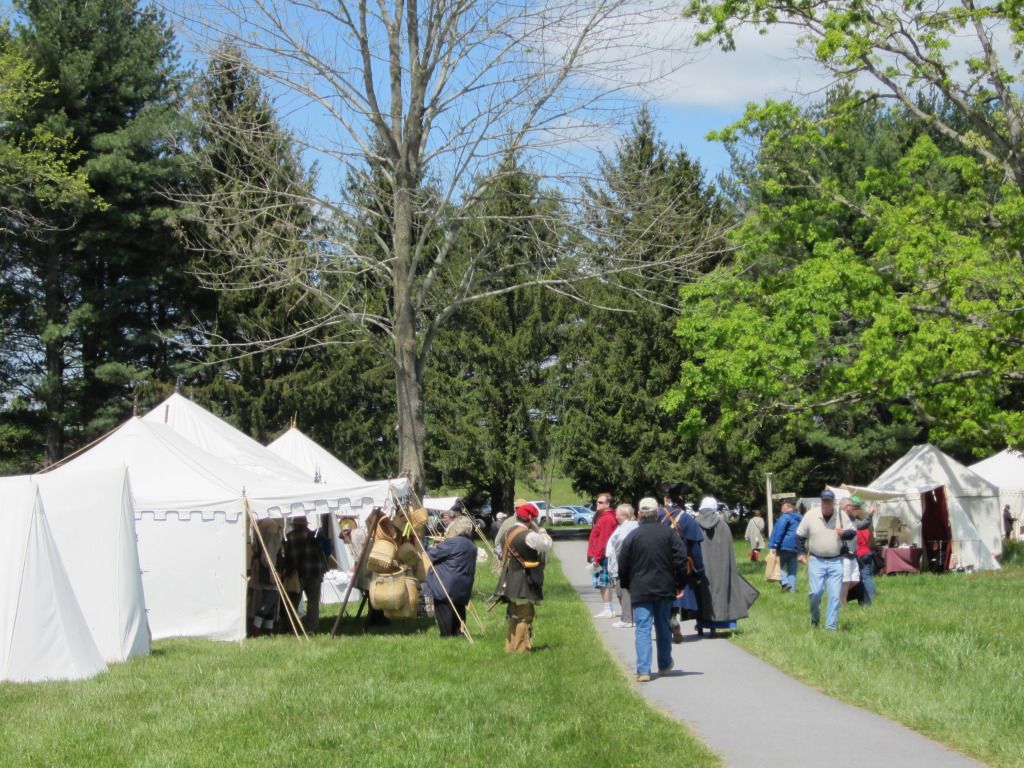
Many visitors who are reenactors come dressed in their period clothing and go around the market fair shopping and visiting. Colonial clothing is not required for visitors as you can see in the photo above, but it makes the fair just so much more fun. Renenactors are always looking for a place to "play" and this makes for a very nice "playground". At the market fair there is 18th Century entertainment - musicians and an 18th Century magician. There is also food sold by two local civic groups - and the pork barbecue was just wonderful!
We went for two days - Friday and Saturday. We went, of course, in our reproduction colonial clothing - most of which Meryl has made for the two of us over the years that we have been in the "hobby". (We both belong to an 18th Century Revolutionary War unit.)
It is a large site and there are many, many vendors. We saw only part of the vendors on Friday. We came back Saturday to see the rest and revisit with some that had things that caught our eye. We also visited the actual fort on Saturday, which has been further furnished in its buildings since we had been here last about three years ago - pre-Roadtrek. If you are a renenactor it is possible to spend a lot of money here. We restrained ourselves and made just a few purchases, but of course, you see this and that of things that you will not see anywhere else, and somethings you just cannot resist. Meryl has become very knowledgeable in 18th Century embroidery and samplers. (I would go so far as to say that she has become an expert - and she has been published in a national embroidery magazine with an article that she wrote on Jacobean embroidery.) She demonstrates this at living history events. So, when she saw books that she does not already have in her library on
 samplers and period embroidery, they were not to be passed up. I found a few things to amuse myself as well. Some of those who sell are craftspeople who make the reproductions that they sell and this includes furniture, clothing, leatherwork, firearms, knives, ironwork, and horn work. The craftsmanship is of the highest quality. And if you see something that you cannot afford that is handmade, if you keep looking from tent to tent you are likely to find a less expensive, similar reproduction of lesser quality but just as utilitarian. As a renenactor you put all of this to actual use. Nothing is just a prop. You carry a flintlock - you use the flintlock. You carry a knife or tomahawk, you use the knife or tomahawk. When you shop at an event like this you are looking for things that will hold up to day to day use - and they have to be authentic and documented in their reproduction.
Needless to say, we had fun! If anyone is interested in history, they will have a good time here too. Admission for the day is just five dollars. Parking is in a large, open grass field. I had some apprehension about driving the Roadtrek with its low ground clearance onto this field as I know from the past that there are dips in the ground - and if it has been raining - it can get very muddy. The brief rain did not bring any mud. There was a forecast for showers on Saturday but they did not come - happily. There had been brief rain a few days before the event. People who attend this event regularly will tell you that there are three things that you can count on when you go to the Fort Frederick Market Fair - it will be cold, it will be very hot, and it will rain. This year, there really was no significant rain - though the forecasts kept predicting it. There was cold - in fact it got very cold - and if you are in a tent on the site - you know just how that cold can feel (as opposed to inside the Roadtrek with the heat pump or furnace going. On Sunday after we left temperatures here dropped down into the 30's during the day. What the weather did not do was get hot. It has gone from freezing in the mornings here to 90 in the afternoon. The lack of heat was actually a very pleasant change as we were able to walk around comfortably.

If you go to Fort Frederick at any time that it is open you will be able to tour the fort. The fort consists of stone walls that enclose the fort with points at each corner for artillery. What you see here is the path leading to the entrance of the fort.
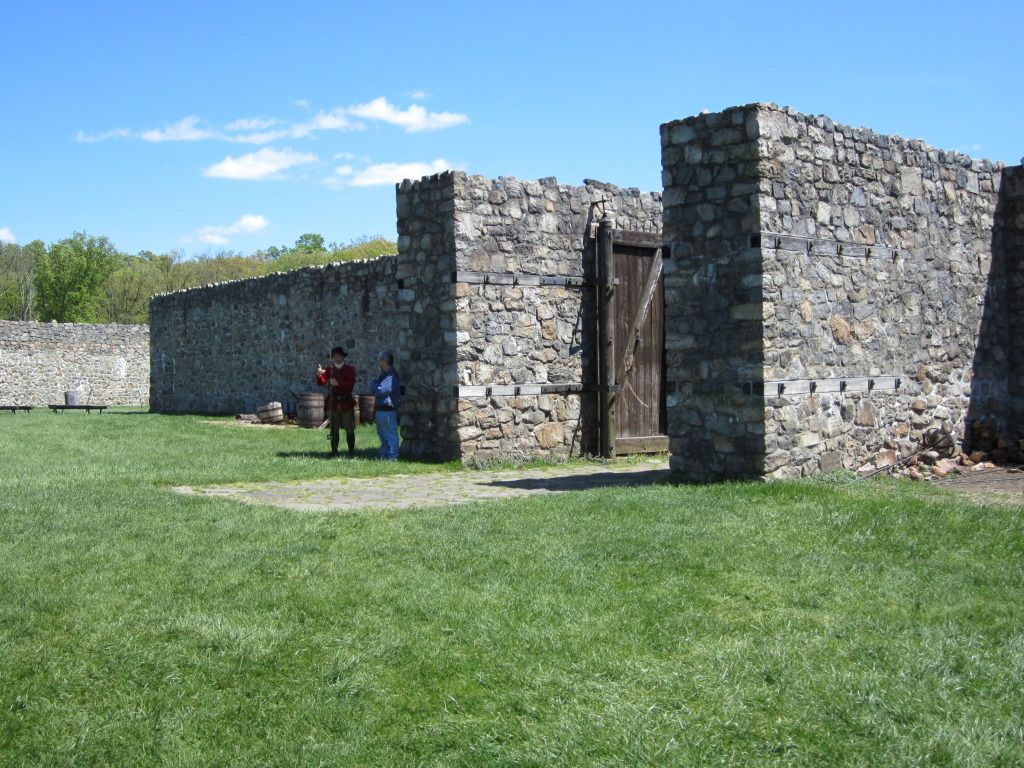
Here you see the entrance to the fort from the inside. You can see one of the large wood doors that secured the fort.

A view of the fort barracks and the stone walls. This is the enlisted men's building.
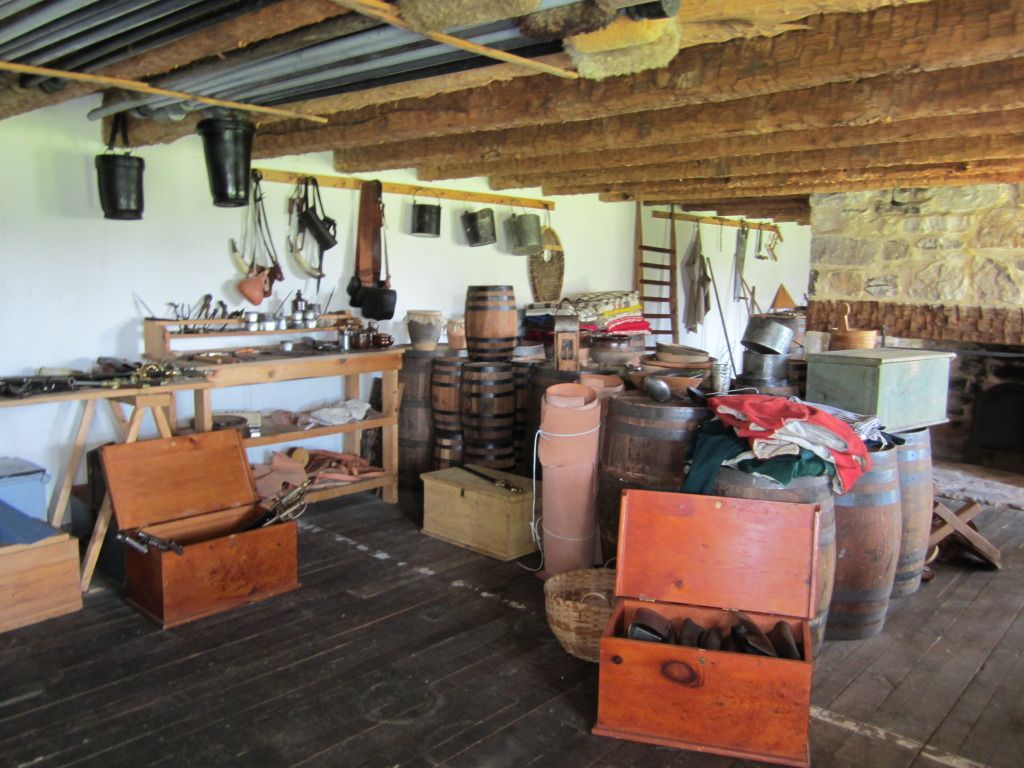
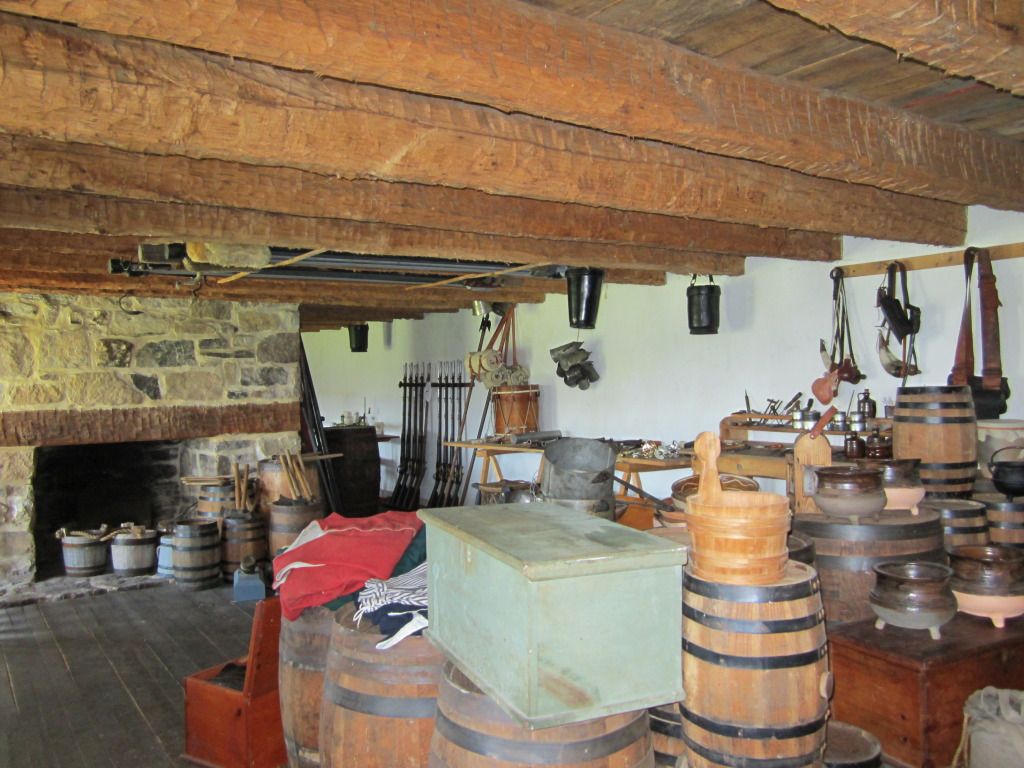
The three photos that follow are enlisted men's quarters. Note, the red uniforms. This is a British Colonial fort in the French and Indian War. At this time we all wore red uniforms and would have been fighting alongside the British against the French and the Indians.
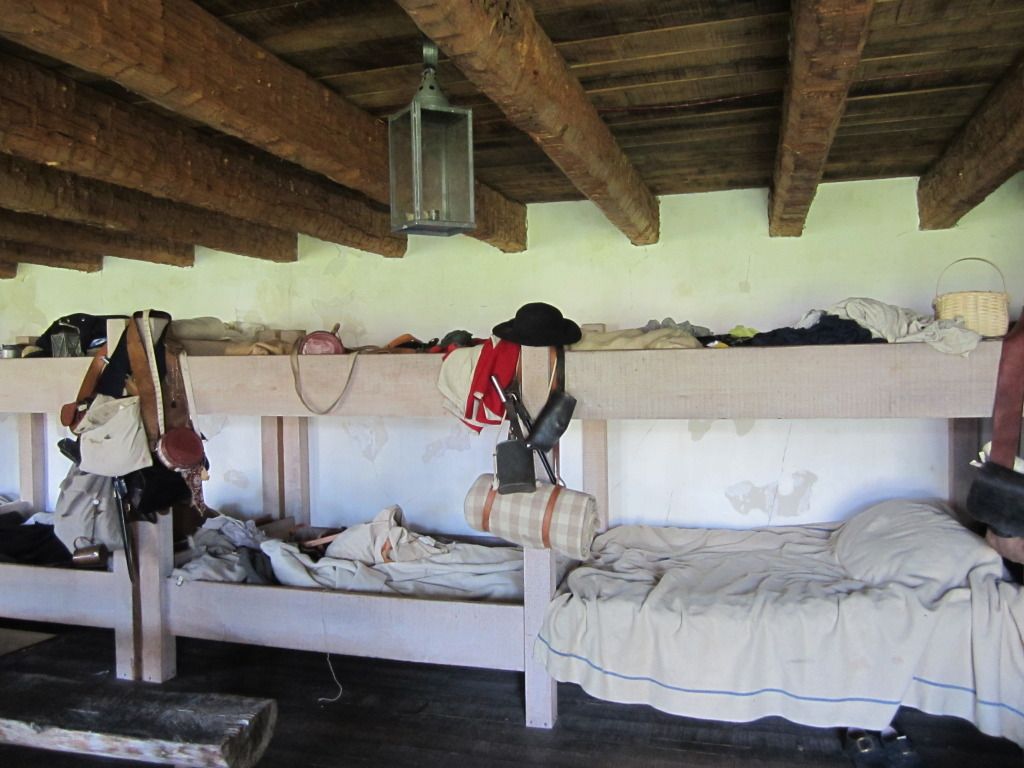
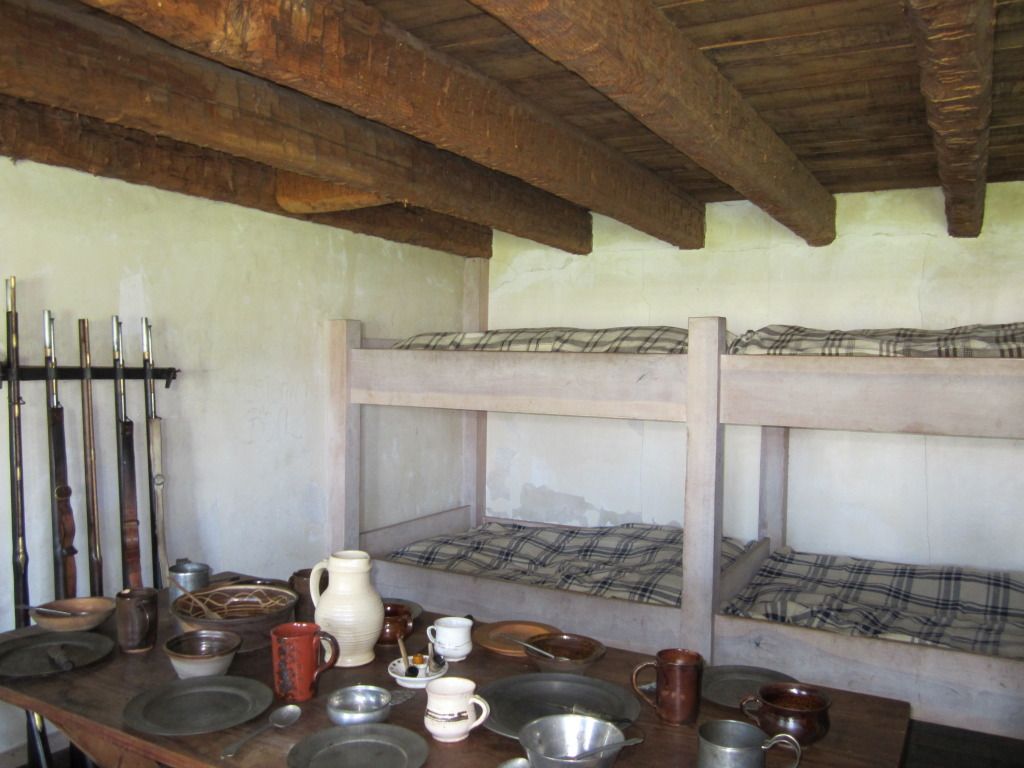
 During the Market Fair, there is a French and Indian War renenacting unit occupying the fort and living overnight in these rooms.
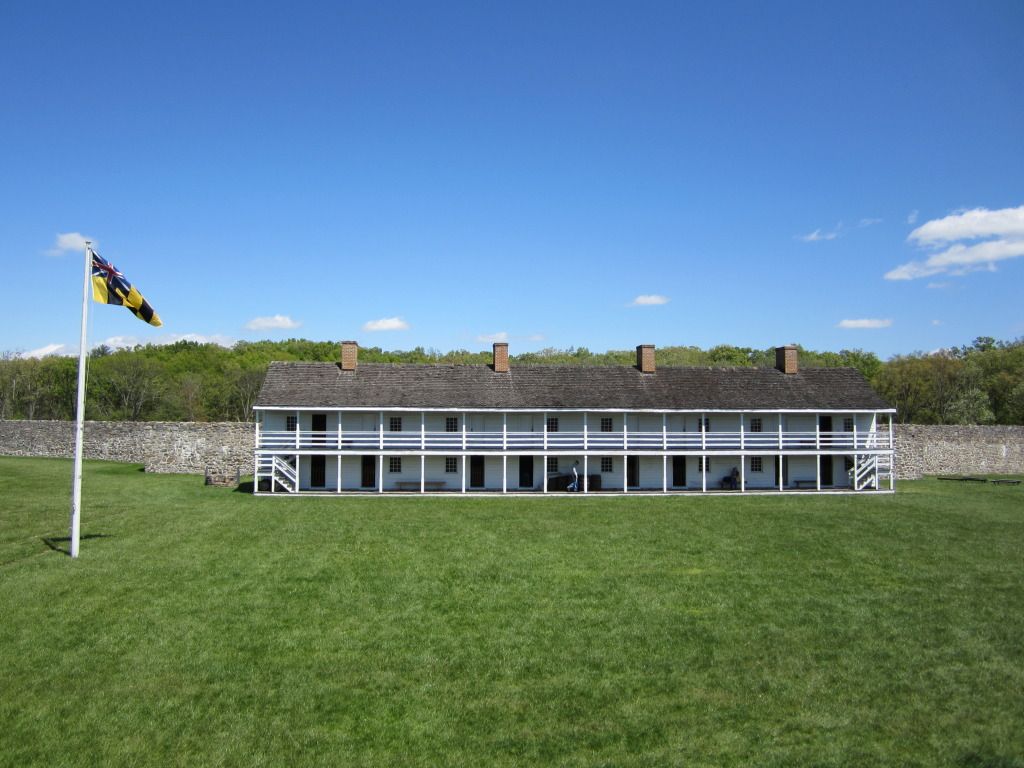
On the opposite side of the parade ground is another building - built to mirror the one above. In the 18th Century architecture is all about symmetry. The top floor of this building is a museum that tells the story of the fort from when it was built through its restoration.
The photos that follow show Officer's quarters, work areas, and storage rooms.


As you can see, even when the Market Fair is not taking place, Fort Frederick is a great historic site to visit and a unique opportunity to see a fully restored fort of the French and Indian War era.
This is a link to the historic site of Fort Frederick. Here is a link to the Fort Frederick Market Fair.